Ready to dive into composting but not sure where to start? You’re in the right place! Composting is a fantastic way to reduce waste and enrich your garden soil, but it can seem a bit overwhelming at first. In this ultimate guide to composting for beginners, I’ll break down the basics and show you just how easy it can be to turn your kitchen scraps into garden gold. Start your journey to greener living now!
Composting is a natural recycling process that transforms organic waste into valuable humus through the action of microorganisms. It’s a self-contained process that thrives under specific conditions, producing nutrient-rich compost that benefits soil health. Let’s dive into the composting process, the different types, and the phases involved.
Composting relies on a variety of microbes to decompose organic matter. The process works best at thermophilic temperatures, typically between 40–65°C (104–149°F), where heat-loving microbes accelerate decomposition.
5 Main Steps of Composting
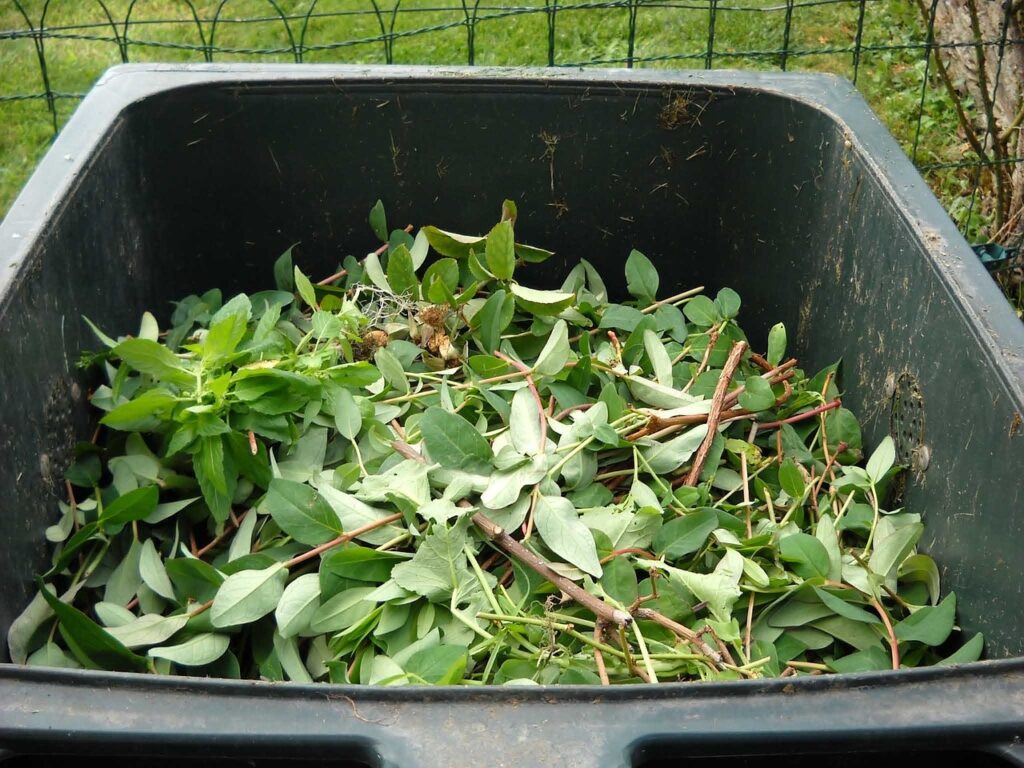
The composting process involves several key steps:
- Choosing the Compost Bin: Decide between an open pile or a compost bin based on your space and needs. Open piles are simpler but require more management, while bins contain the compost and often help control conditions more effectively.
- Selecting a Location: Place your compost bin or pile in a flat, well-drained, and sunny location. This helps with aeration and maintains optimal temperature conditions.
- Starting the Pile: Begin with a layer of bristly materials, such as twigs, to allow drainage and airflow. Cover this with a layer of leaves or other covering materials. Alternate layers of green materials (nitrogen-rich) and brown materials (carbon-rich) as you add kitchen scraps and yard waste.
- Maintaining Moisture: Ensure the compost is adequately moist, like a damp sponge. Adjust moisture levels by adding water or dry materials as needed to keep the pile in balance.
- Monitoring Temperature: The ideal temperature range for composting is between 30–80°C (86–176°F). This range supports optimal microbial activity.
Types of Composting
Static Pile: Create a pile of organic waste and let it decompose on its own. Periodically turn the pile to aerate it and maintain decomposition.
In-Vessel Composting: Composting occurs in a contained system, such as a drum or enclosed bin. This method allows for better control of temperature, moisture, and aeration but can be more expensive.
Bin Composter: This is a more controlled method than a static pile. Compost bins come in various designs, such as tumblers or stackable bins, making it easier to manage and turn the compost.
Windrow Composting: Large-scale operations use windrows, which are long, narrow piles of compostable material. Workers regularly turn these piles with specialized equipment. This method is common in commercial composting facilities.
Vermicomposting: This involves using worms to break down organic matter. It’s ideal for indoor composting or smaller-scale operations and is particularly effective at processing kitchen scraps.
Phases of Composting
Mesophilic Stage: At the beginning of composting, mesophilic microbes (which thrive at moderate temperatures) start decomposing the organic material. As the microbes break down the material, the temperature rapidly increases.
Thermophilic Stage: As the compost pile heats up, thermophilic microbes (heat-loving bacteria) take over. This stage is crucial for breaking down pathogens and weed seeds. The temperature of the compost pile can reach up to 65°C (149°F) during this phase.
Cooling and Curing: After the thermophilic phase, the compost pile starts to cool down. Mesophilic microbes then further decompose the remaining organic materials. This stage ensures that the compost matures and stabilizes.
Maturation: In this final phase, the compost continues to break down slowly, resulting in a dark, crumbly substance. It is now ready to be used as a soil amendment.
Controlling the Composting Process
Several factors influence the efficiency of composting:
- Water Content: Maintain moisture at a level where the compost feels like a damp sponge.
- Nutrient Content: Balance carbon-rich (browns) and nitrogen-rich (greens) materials.
- pH Level: Compost should have a pH between 6.0 and 8.0.
- Oxygen Supply: Ensure proper aeration by turning the pile regularly.
- Temperature: Maintain the optimal temperature range for microbial activity.
Types of Composting
You can adapt composting to various methods, each offering its own set of advantages and suitable applications. Understanding the different types of composting can help you choose the best method for your needs, whether you’re aiming to enrich your garden soil or manage large volumes of organic waste. Here’s an overview of the main types of composting and their specific techniques.
1. Aerobic Composting
Aerobic composting is the decomposition of organic waste in the presence of air (oxygen). This method is highly effective and widely used due to its ability to produce high-quality compost efficiently.
In aerobic composting, aerobic microorganisms like Nocardia, Pseudomonas spp., Bacillus, and Mycobacterium spp. break down organic materials in the presence of oxygen.
The process maintains moisture content at approximately 55%–75% and a carbon to nitrogen ratio (C/N) around 30. This method produces compost with reduced phytotoxicity and boosts productivity compared to anaerobic composting.
The microbial population in aerobic composting is highly active and varies with the decomposition stage and type of organic waste. The process observes prokaryotic diversity and fungal dominance, which contribute to effective decomposition.
Types of Aerobic Composting:
Heap Method: This traditional method involves creating a heap of organic materials and covering it with a thin layer of soil or dry leaves. Mix the heap weekly, and it typically takes about 3 weeks to produce compost. It’s similar to the pit method and is suitable for small to medium-scale composting.
Aerated Windrow Composting: In aerated windrow composting, you pile organic waste into long rows called windrows. Periodically turn the windrows to ensure they receive adequate oxygenation. This method requires substantial space and equipment but is effective for large-scale composting. It usually takes 3–9 weeks to produce compost, depending on environmental conditions and management. Ideal dimensions for windrows are about 4–8 feet high and 14–16 feet wide.
In-Vessel Composting: Organic materials are placed in enclosed systems such as drums, silos, or concrete-lined trenches. These systems maintain controlled conditions, including temperature and moisture levels, and minimize odors. This method is suitable for cold weather areas and can process large quantities of organic waste. Compost is typically ready in 2–6 weeks.
2. Anaerobic Composting
Anaerobic composting is a composting method that operates in the absence of oxygen. This process relies on anaerobic bacteria to break down organic materials, resulting in compost that’s often used for various purposes, including soil enrichment and waste management.
The Anaerobic Composting Process
In anaerobic composting, organic waste materials decompose in an oxygen-free environment. Anaerobic bacteria such as Clostridium, Bacteroides, Actinomyces, Fusobacterium, and Veillonella are responsible for breaking down food scraps and other organic materials. Unlike aerobic composting, which requires regular turning and oxygen supply, anaerobic composting takes place in sealed environments where air is excluded.
This method tends to produce compost with a distinct odor due to the production of methane and other gases as by-products of decomposition. The composting process can take longer compared to aerobic methods, typically ranging from 6 to 12 months, depending on the conditions and types of materials used.
Types of Anaerobic Composting
Stacks or Piles: Create stacks or piles of organic waste, such as food scraps and green materials, for the simplest form of anaerobic composting. Leave these piles undisturbed so anaerobic bacteria can decompose the materials over time. Use this method for kitchen composting, and it can produce compost in 6 to 12 months.
Bokashi Composting: Bokashi composting is a specialized anaerobic method where you ferment organic waste in a closed container. Specific microorganisms ferment the food scraps, producing a pre-compost material. You can then add this fermented material to an aerobic compost pile or use it directly in the garden. People value Bokashi composting for its ease of use, affordability, and its ability to handle a wide range of organic materials, including dairy and meat products, which other composting methods typically avoid.
Submerged Composting: In submerged composting, organic waste is kept underwater in a closed or open container. The water acts as a cooling agent, slowing down the decomposition process and preventing unwanted odors. This method can be effective for managing large volumes of organic waste but requires careful management to avoid issues with anaerobic conditions, which can lead to unpleasant smells.
Benefits and Drawbacks
Benefits: Anaerobic composting can handle a wide variety of organic materials, including those that are not suitable for aerobic composting. It is also less labor-intensive since it does not require frequent turning or aeration.
Drawbacks: This method often produces a compost with a strong odor and can lead to the production of methane, a potent greenhouse gas. Additionally, the composting process is generally slower, and the resulting compost may require further processing to be fully usable.
3. Vermicomposting
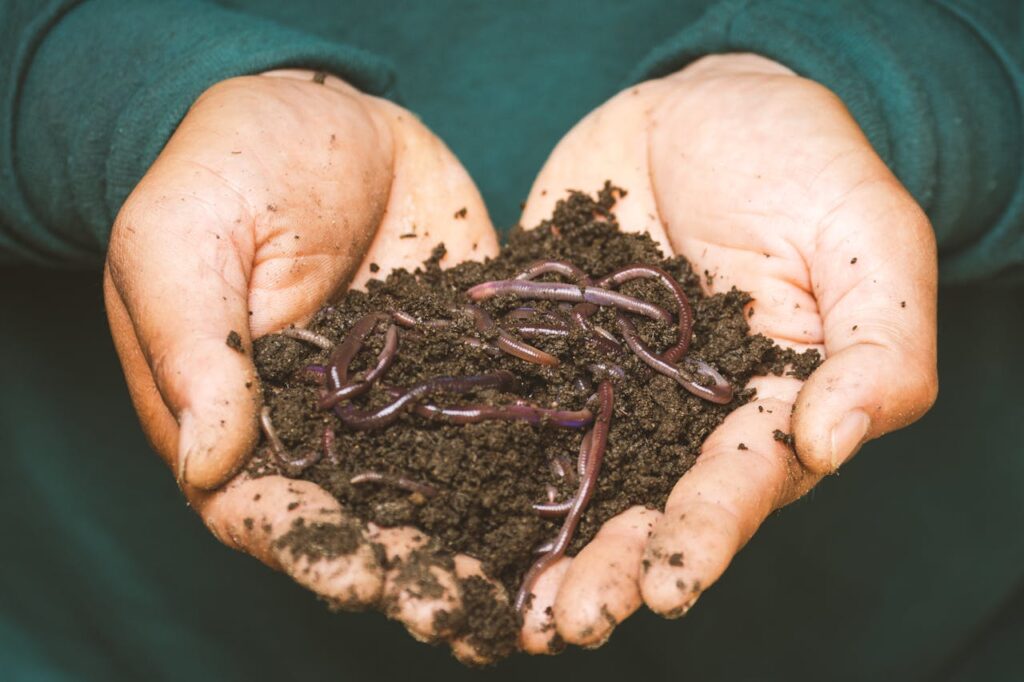
Vermicomposting is a specialized form of composting that leverages the natural processes of earthworms to transform organic waste into nutrient-rich compost. This method is particularly effective for small-scale composting and offers several unique benefits.
Vermicomposting uses specific earthworm species to decompose organic materials. The worms consume food scraps, animal manures, and other waste, turning them into granular worm castings or vermicompost. This process reduces the volume of organic waste by 40%–60% and produces nutrient-rich compost.
Earthworms require specific conditions to thrive. The optimal moisture content for vermicomposting is between 32% and 66%, and the pH level should be around neutral (pH 7). The composting process occurs best at temperatures ranging from 25°C to 37°C, depending on the species of worms used.
Species of Earthworms: Four species are commonly used in vermicomposting:
- Eudrilus eugeniae: A tropical species well-suited for warm climates.
- Perionyx excavatus: Another tropical worm that performs well in similar conditions.
- Eisenia andrei: Known for its high decomposition rate.
- Eisenia fetida: Often referred to as the red wiggler, this species is highly effective at breaking down organic matter.
Benefits of Vermicomposting
Efficient Waste Reduction: Vermicomposting significantly reduces the volume of organic waste, making it an effective method for managing kitchen scraps and other organic materials.
High-Quality Compost: The compost produced through vermicomposting is rich in nutrients and beneficial microorganisms, which can enhance soil health and plant growth.
Additional Uses: As earthworms reproduce, the population can double every 60–90 days. The excess worms can be used as fish bait or sold to other gardeners and farmers, adding an additional benefit to the composting process.
Setting Up a Vermicomposting System
Choosing the Container: Vermicomposting can be done in various containers, including specially designed worm bins, plastic totes, or wooden boxes. Ensure the container has adequate drainage and ventilation.
Preparing the Bedding: Start with a bedding material such as shredded newspaper, cardboard, or coconut coir. Moisten the bedding to the appropriate moisture level before introducing the worms.
Adding Worms and Waste: Introduce the earthworms to the prepared bedding, then add organic waste in moderation. Avoid adding meat, dairy, or oily foods, as these can attract pests and disrupt the composting process.
Maintaining the System: Keep the vermicomposting system in a location with consistent temperatures and humidity. Monitor the moisture levels and pH, and ensure the worms have a continuous supply of organic waste.
4. Mechanical Composting
Mechanical composting involves using various types of equipment to efficiently produce high-quality compost from organic waste materials. This method is designed to streamline the composting process, improve efficiency, and reduce the time required to produce compost. Here’s an overview of the types of composting equipment and their applications:
Types of Composting Equipment
Compost Bins:
Compost bins are versatile and come in several designs to suit different needs. Common types include:
- Covered Bridged Organic Hot Bin: This type features an insulated design that helps maintain high temperatures, speeding up the composting process. It’s ideal for those looking to produce compost quickly and efficiently.
- Coated Mesh Wired Bin: Made from mesh, this bin provides good airflow, which is essential for aerobic composting. It’s effective for managing kitchen scraps and garden waste.
- Earth Engine Double Bin: This system uses two separate bins, allowing for continuous composting. As one bin matures, the other can be filled, ensuring a steady supply of compost.
Compost Tumblers:
Compost tumblers are rotating devices that mix and aerate compost materials. They are particularly useful for producing compost in a shorter time frame, often within 3 weeks. Tumblers are designed to be easy to turn, which facilitates thorough mixing and aeration.
Compost Containers:
These are enclosed structures that provide a controlled environment for composting. Containers can vary in size and design, from small, countertop versions to larger, backyard models. They help contain odors and pests while promoting efficient decomposition.
Compost Turners:
Compost turners are used to mix and aerate large quantities of compost. They are essential for managing compost piles, especially in commercial settings or larger home operations. While not suitable for extremely large-scale operations (over 10,000 tons per season), they are effective for smaller to medium-sized composting projects.
Composting Equipment Features
- Temperature Control: Some composting equipment, like the covered bridged organic hot bin and certain composters, are designed to maintain high temperatures (above 65.5°C). This high temperature accelerates the composting process and helps in killing pathogens and weed seeds.
- Aeration: Equipment like compost tumblers and mesh bins provide excellent airflow, which is crucial for aerobic composting. Proper aeration ensures that the composting process is efficient and minimizes unpleasant odors.
- Ease of Use: Compost tumblers and turners are designed for ease of use, reducing the physical effort required to manage compost. Tumblers, in particular, allow for easy rotation, while turners can quickly mix large compost piles.
Benefits and Considerations
Efficiency: Mechanical composting equipment, such as tumblers and hot bins, accelerates composting, producing results in weeks instead of months.
Convenience: These tools streamline composting, making it more accessible and potentially increasing its adoption among individuals and businesses.
Cost: Although initial investment is required, the long-term advantages include reduced waste disposal costs and valuable compost production. For larger operations, investing in high-capacity equipment proves cost-effective.
5. Other Methods
- Static Pile: Involves creating a stationary pile of organic materials that is occasionally turned for aeration. This method is simple but requires regular maintenance.
- Bin Composter: A contained system, often with features for turning and aeration, which makes it easier to manage and control the composting environment.
- Windrow Composting: Large-scale method using long, narrow piles that are regularly turned.
Phases of Composting
Composting is a dynamic process that unfolds in several distinct stages. Each phase plays a crucial role in breaking down organic material into nutrient-rich compost. Here’s a detailed look at the four primary stages of composting: mesophilic, thermophilic, cooling, and curing.
1. Mesophilic Phase
The mesophilic phase, also known as the primary phase, marks the beginning of the composting process. During this stage, composting starts at moderate temperatures, typically ranging from 20°C to 45°C (68°F to 113°F). Mesophilic microorganisms, which thrive in these temperatures, initiate the decomposition of organic materials.
In this phase, mesophilic bacteria and fungi break down soluble and readily degradable compounds, generating heat that gradually increases the compost temperature. This heat is essential for preparing the compost for the next phase. As mesophiles decompose organic matter, they reduce initial odors and create an environment less conducive to pests and pathogens.
2. Thermophilic Phase
Following the mesophilic phase, the compost enters the thermophilic phase, characterized by higher temperatures, generally between 45°C and 65°C (113°F and 149°F). This stage is driven by thermophilic or “heat-loving” microorganisms that thrive in elevated temperatures.
The compost temperature rises significantly due to intense microbial activity, with thermophiles breaking down complex compounds like proteins, fats, and cellulose. These high temperatures kill many pathogens and weed seeds, making the compost safer for garden use. To maintain optimal conditions, compost managers should aerate and turn the pile to prevent temperatures from exceeding 65°C (149°F), as excessive heat can inhibit microbial activity and slow down the composting process.
3. Cooling Phase
As the thermophilic phase progresses, the concentration of high-energy compounds like proteins and fats decreases. Consequently, the temperature in the compost pile begins to cool down.
The decrease in temperature marks the end of the thermophilic phase and the shift to the cooling phase. As easily degradable materials are broken down, the temperature drops, allowing mesophilic microorganisms to reemerge and continue decomposing the remaining organic matter.
4. Curing Phase
The final phase of composting is the curing phase, also known as the maturation phase. During this stage, the compost pile stabilizes and matures.
The compost decomposes slowly, fully breaking down the remaining organic material into humus. As the temperature stabilizes at ambient levels, the result is a dark, crumbly, nutrient-rich substance, ready to use as a soil conditioner or fertilizer.
Understanding these phases helps in managing the composting process effectively, ensuring a high-quality end product that benefits soil health and supports plant growth.

