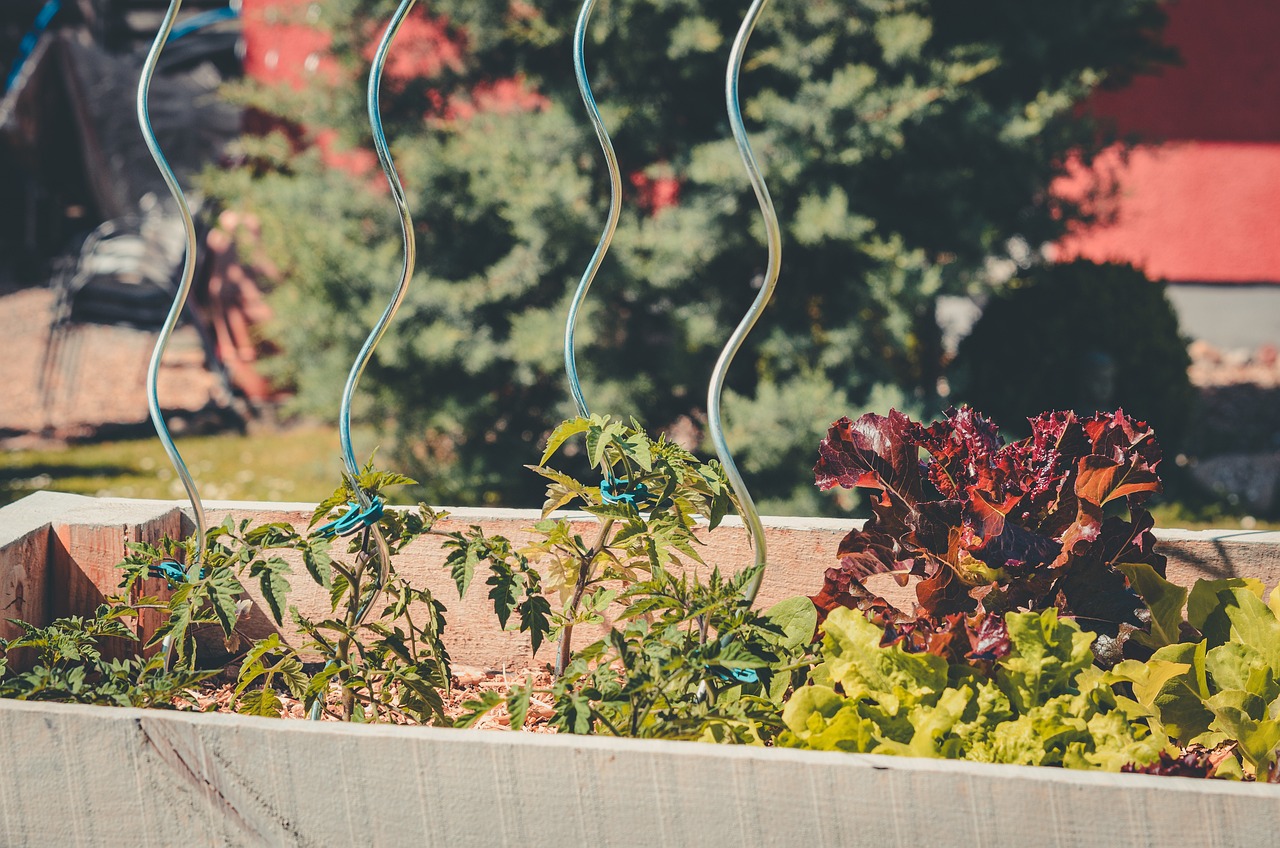
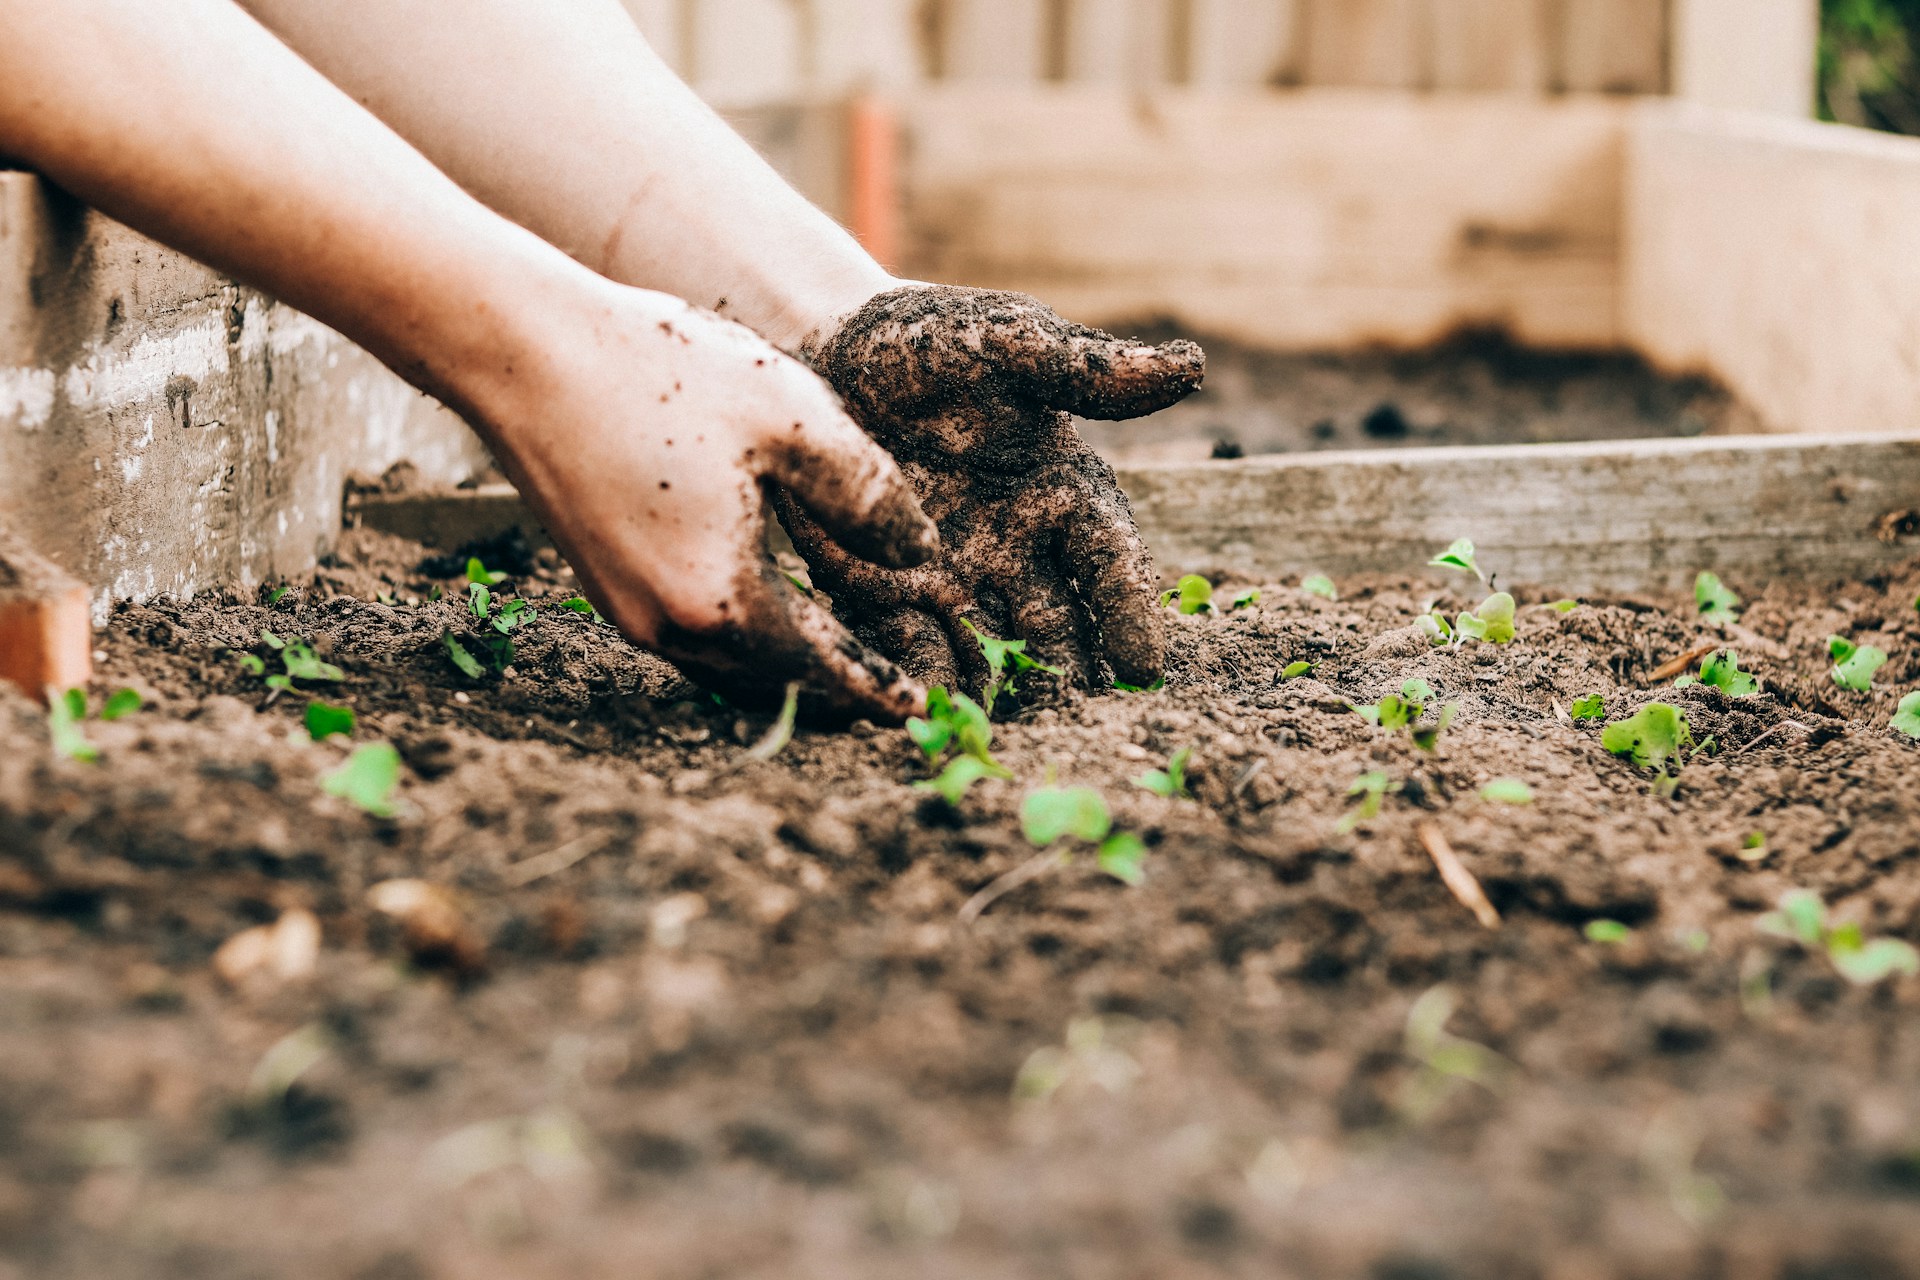
When we first decided to expand our garden, the idea of raised garden beds immediately came to mind. Raised beds not only help improve soil drainage and structure but also make gardening more accessible by reducing the need to bend or kneel. Plus, they give you more control over the soil quality, which is especially useful if you’re working with poor or compacted ground.
Building your own raised garden beds is simpler than you might think. Here’s a practical guide to help you get started.
Why Build Raised Garden Beds?
Raised garden beds offer several advantages:
- Improved Soil Quality: You can fill your raised beds with nutrient-rich soil, perfect for growing vegetables, herbs, and flowers.
- Better Drainage: Elevated soil means better drainage, which helps prevent waterlogged roots.
- Weed and Pest Control: Raised beds can help reduce weed growth and make it harder for pests like slugs and snails to access your plants.
- Accessibility: Raised beds are easier to work with, especially for those with mobility issues.
Materials You'll Need
To build your own raised garden beds, you’ll need a few basic materials. Here’s what to gather:
- Wood: Cedar or untreated pine is ideal as it’s naturally rot-resistant. Avoid treated wood to keep your garden organic.
- Screws or Nails: Galvanized screws or nails will resist rust and hold the structure together for years.
- Soil: A mix of compost, topsoil, and organic matter will provide the best growing environment.
- Mulch: Mulching helps retain moisture and suppress weeds.
- Tools: A saw, drill, measuring tape, and level will be essential for construction.
Steps to Build Your Raised Garden Bed
1. Plan Your Space:
Choose a sunny location in your garden with enough space for the bed. Most vegetables need at least 6-8 hours of sunlight a day. Measure out the area and decide on the size of your bed. A typical size is 4 feet wide by 8 feet long, allowing easy access from all sides.
2. Prepare the Ground:
Clear the area of weeds and grass. If the ground is particularly uneven, level it out. Consider laying down a layer of cardboard or landscape fabric to suppress weeds further.
3. Assemble the Frame:
Cut your wood to the desired dimensions. Use screws or nails to attach the corners, creating a sturdy frame. Be sure to check that the frame is level and square before securing it.
4. Fill the Bed:
Once your frame is secure, it’s time to fill your raised garden bed with soil. Start by adding a base layer of coarse material such as sticks, straw, or small rocks. This layer will aid in drainage, preventing water from pooling at the bottom of your bed and ensuring your plants’ roots stay healthy. Depending on the height of your bed, this drainage layer can be about 4-6 inches deep.
After your drainage layer is in place, add a layer of high-quality soil. A mix of 60% topsoil, 30% compost, and 10% organic material such as coconut coir or leaf mold creates an ideal growing environment for your plants. This mix provides the perfect balance of nutrients, moisture retention, and drainage. You can also include organic matter like worm castings or mushroom compost to further enrich the soil.
Avoid compacting the soil too much as you fill the bed. Loose soil allows roots to spread more easily, promoting healthier plant growth. Fill the bed to about an inch below the top of the frame to prevent soil overflow when watering.
5. Plant and Mulch:
Now that your bed is filled, it’s time to plant! Be mindful of the planting guidelines for each species, ensuring enough space for growth and sunlight exposure. Once your plants are in, add a layer of organic mulch, such as straw, wood chips, or shredded leaves. Mulch helps retain soil moisture, regulate temperature, and suppress weeds.
Tips for Success
- Consider the Height: Raised beds can be built at various heights. Taller beds (12-18 inches) are ideal for root vegetables and reduce strain on your back, while shorter beds (6-8 inches) work well for most other crops.
- Watering: Raised beds tend to dry out faster than in-ground beds, so regular watering is crucial, especially during dry spells. Consider installing a drip irrigation system to make watering more efficient and to ensure your plants receive consistent moisture.
By following these steps and tips, you’ll create a raised garden bed that can help you grow healthier, more bountiful crops right in your backyard. With the right materials, soil mix, and care, your raised garden bed will become a thriving hub for your organic garden!


Pingback: Using Mushroom Compost in Raised Beds: Nourish Your Garden Naturally - GrowForMeal