No-till gardening is all about keeping the soil intact and minimizing disturbance to its natural structure. Instead of turning over the soil, which can disrupt its ecosystem and lead to erosion, this method layers organic materials right on top.
This practice not only boosts soil health but also supports the delicate balance of microorganisms, worms, and nutrients that help plants thrive.
For those of us passionate about vegan organic gardening, no-till gardening aligns perfectly with our commitment to nurturing the earth while growing nutrient-dense food without synthetic fertilizers or pesticides.
My journey into no-till gardening started when I discovered its environmental benefits. Watching my plants flourish without disrupting the soil brought me a sense of harmony with nature.
The idea of collaborating with the earth, rather than working against it, resonated deeply with me. No-till gardening isn’t just about growing food; it’s about creating a sustainable ecosystem that nurtures life and strengthens our connection to the environment.
If you’re ready to cultivate a garden that promotes biodiversity and nourishes both you and the planet, let’s dive into how to get started with no-till gardening!
Benefits of No-Till Gardening
Soil Health
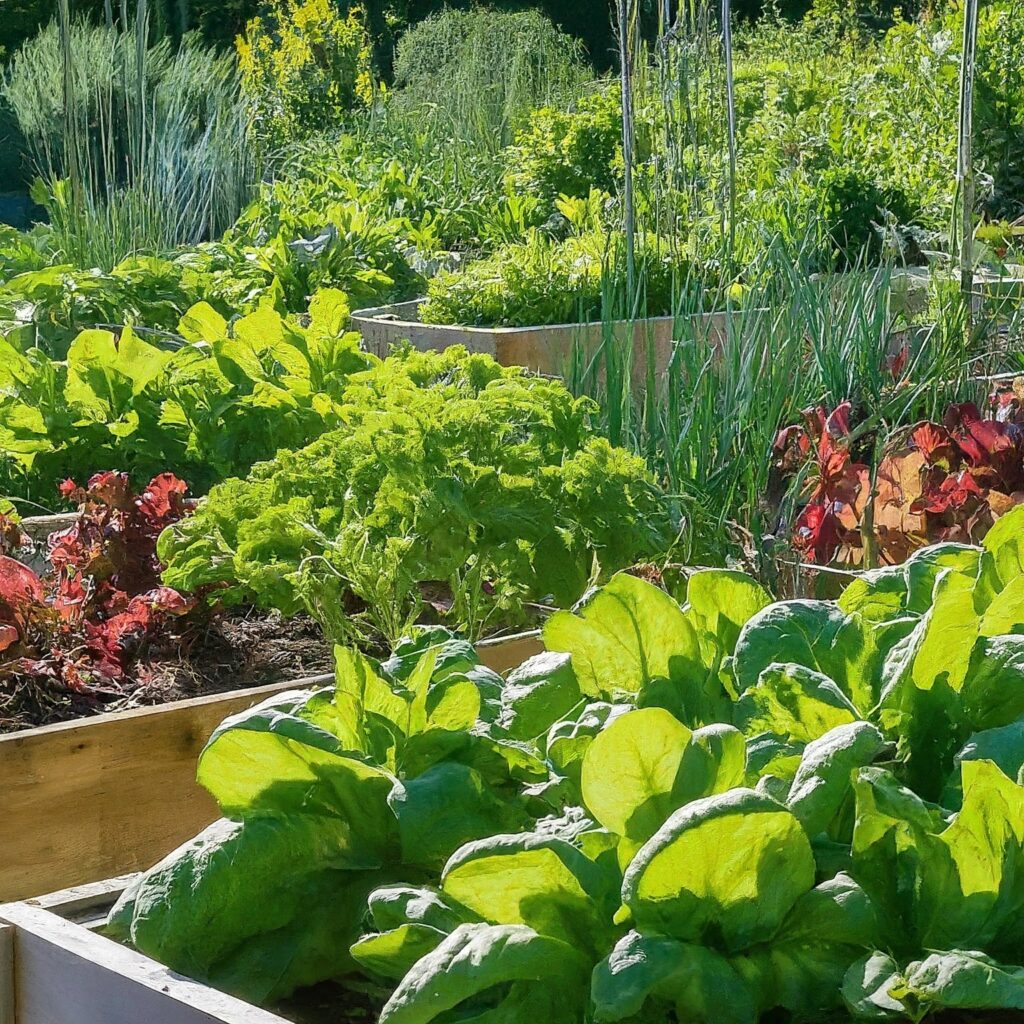
One of the standout advantages of no-till gardening is its positive impact on soil health. By skipping the tilling, we keep the soil structure intact, preserving its intricate web of organisms.
This practice promotes biodiversity, allowing beneficial microbes, fungi, and earthworms to flourish.
As these organisms break down organic matter, they create nutrient-rich soil that nourishes our plants and encourages healthy root development.
Water Conservation
No-till gardening is a champion of water conservation, too! By maintaining a protective layer of organic mulch and plant debris on the soil surface, we can significantly improve moisture retention.
This natural barrier reduces evaporation and helps the soil absorb water more effectively during rainstorms. As a result, no-till gardens often require less frequent irrigation—a win-win for your plants and your water bill!
Reduced Erosion
Soil erosion is a major concern for gardeners, especially in areas prone to heavy rainfall or wind. No-till practices combat this issue by keeping the soil intact.
The organic materials on the surface protect against runoff, while plant roots anchor the soil in place. By reducing erosion, we not only preserve our precious topsoil but also maintain the fertility of our gardens for years to come.
Weed Control
Fewer disturbances in the soil make a significant difference in weed management. With no-till gardening, the natural ecosystem remains balanced, allowing for better competition between plants and weeds.
The layers of organic matter can smother emerging weeds, and with less soil disruption, their seeds are less likely to germinate. This means you’ll spend less time weeding and more time enjoying your flourishing garden.
Carbon Sequestration
In today’s world, reducing carbon emissions is more important than ever. No-till gardening plays a vital role in capturing carbon from the atmosphere and storing it in the soil.
By keeping the soil undisturbed, we help maintain its carbon content, contributing to healthier ecosystems and mitigating climate change. By adopting no-till practices, we can all do our part to create a more sustainable future.
Saves Time and Energy
Let’s be honest: gardening can be hard work! One of the most appealing benefits of no-till gardening is the reduced physical labor involved.
Without the need for tilling, you’ll spend less time preparing your garden beds and more time on enjoyable tasks like planting, harvesting, and savoring the fruits (and vegetables) of your labor. Plus, the efficiency of no-till gardening lets you connect with nature without the added struggle!
15 Essential Supplies for No-Till Gardening
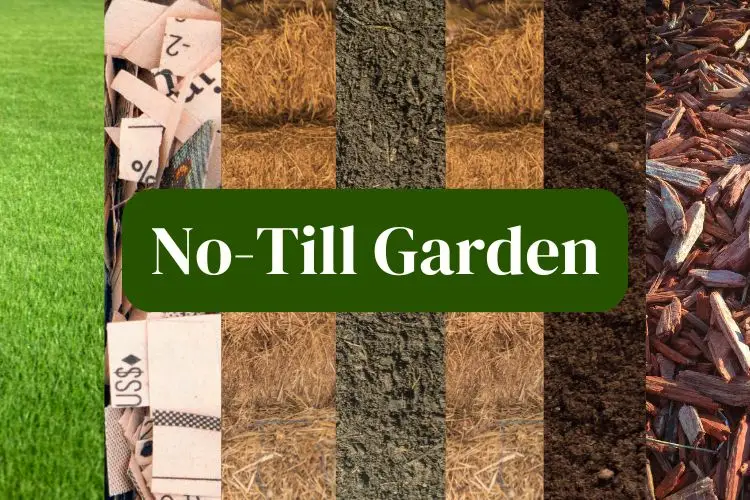
- Organic Mulch: Use materials like straw, wood chips, shredded leaves, or grass clippings to create a protective layer over the soil. This not only suppresses weeds but also helps retain moisture, giving your plants the hydration they need.
- Compost: A rich source of nutrients, compost improves soil fertility and structure when layered on top of your garden beds. It’s like a nourishing blanket for your plants!
- Cardboard or Newspaper: These materials are perfect for sheet mulching. They help suppress weeds and, as they break down, they enhance soil health.
- Cover Crops: Plant seeds for cover crops like clover, vetch, or rye to improve soil structure, prevent erosion, and enrich the soil with nutrients.
- Broadfork: This handy tool aerates the soil without disturbing its natural structure, promoting healthy root growth and ensuring your plants have the air they need.
- Soil Test Kit: Regular soil testing is essential for monitoring nutrient levels and pH. This helps you manage soil health more effectively.
- Garden Hand Tools: Basic tools like trowels, hoes, and rakes are perfect for planting and maintaining your garden without tilling.
- Watering Equipment: Consider using drip irrigation or soaker hoses for efficient watering that minimizes soil disturbance, keeping your plants hydrated without disrupting their environment.
- Natural Pest Control Supplies: Opt for organic pesticides, beneficial insects, or homemade remedies to manage pests while preserving the soil ecosystem.
- Seed Starting Supplies: If you’re starting plants from seeds, gather seed trays, organic seed starting mix, and possibly grow lights for indoor planting.
- Organic Fertilizers: Amend your soil with organic fertilizers like bone meal, fish emulsion, or kelp to provide essential nutrients without disturbing the soil.
- Garden Plan: While not a physical supply, having a garden plan can help you organize your crops and maximize space efficiently.
Optional Supplies:
- Row Covers: These can protect young plants from pests and harsh weather.
- Garden Labels: Keep track of what you’ve planted and where with these handy labels.
- Thermometer and Moisture Meter: Monitor soil temperature and moisture levels for optimal plant growth.
These supplies will set you up for a successful no-till garden, promoting soil health and sustainable practices. Happy gardening!
How to Start a No-Till Garden
Choose the Right Location
Selecting the perfect spot for your no-till garden is key to its success. Aim for a location that basks in plenty of sunlight—ideally, six to eight hours a day. Sunlight is essential for healthy plant growth, so the brighter, the better!
Good drainage is also a must. Look for an area where water doesn’t pool, as standing water can lead to root rot and other issues. If you can, steer clear of spots that have been compacted by heavy machinery or foot traffic, as compacted soil can hinder root growth and moisture absorption.
To make an informed decision, observe how water flows through your space during rainfall. This will help you spot any potential drainage issues and guide you in choosing a location that fosters healthy, thriving plants.
Plan Your Garden Layout
Now that you’ve found the ideal spot, it’s time to roll up your sleeves and plan your garden layout. Effective planning is essential for maximizing productivity and creating a harmonious environment for your plants.
Consider incorporating crop rotation and companion planting into your design. Crop rotation helps prevent soil depletion and reduces the risk of pests and diseases by changing the types of crops grown in a specific area each season. This not only keeps your soil healthy but also minimizes the chance of pests getting too comfortable in one spot.
Companion planting takes it a step further by pairing compatible plants together. These plant buddies can support each other’s growth and even help deter unwanted insects. For example, marigolds can repel certain pests while attracting beneficial insects.
To visualize how your plants will interact and to ensure a balanced ecosystem, creating a garden map can be incredibly helpful. Sketch out your layout, noting where each plant will go and how they will work together. This way, you’ll be well-prepared to cultivate a thriving garden that flourishes in harmony!
Prepare the Soil
Preparing the soil for no-till gardening might sound a bit daunting, but it’s easier than you think with a few straightforward techniques. Start by clearing away any debris and weeds from your designated area—this sets a clean stage for your garden.
Instead of turning over the soil, simply layer organic matter directly on top. Think compost, grass clippings, shredded leaves, or straw—these materials will work their magic as they break down, enriching the soil beneath and creating a nutrient-rich environment for your plants.
This method not only gets your soil ready for planting but also helps preserve its natural structure. By avoiding tilling, you’re allowing the beneficial organisms and soil structure to thrive, setting the stage for a flourishing garden. It’s a win-win for both you and your plants!
Use Cover Crops
Incorporating cover crops into your no-till garden is a fantastic way to boost soil health. Crops like clover, vetch, and rye serve primarily to cover and protect the soil, and they bring a host of benefits along with them.
These green guardians help prevent erosion, improve soil structure, and enrich nutrient content by fixing nitrogen.
Once your cover crops have grown for a season, you can simply cut them down and layer them back into the soil, adding even more organic matter.
This practice not only enhances the soil’s health but also creates a welcoming habitat for beneficial insects and pollinators.
By using cover crops, you’re nurturing a thriving ecosystem while ensuring your garden remains healthy and productive.
Mulching Techniques
Mulching is an essential practice in no-till gardening, offering a wealth of benefits for your plants and soil.
Applying a thick layer of organic mulch—such as straw, wood chips, or shredded leaves—creates a natural barrier that suppresses weeds while helping to retain soil moisture. By minimizing weed competition, your plants can access the nutrients and light they need to flourish.
As the mulch breaks down over time, it continues to enrich the soil by adding organic matter, which enhances its fertility.
For optimal results, aim for a mulch layer of 2 to 4 inches around your plants. This simple technique not only promotes healthy growth but also contributes to a more sustainable and productive garden.
Common Methods of No-Till Gardening
Sheet Mulching
Sheet mulching is a powerful no-till gardening technique that involves layering organic materials directly onto the soil to create a thriving garden bed.
The process begins with laying down cardboard or newspaper over the desired area. This initial layer serves to suppress weeds and retain moisture, setting the stage for healthy plant growth.
On top of the cardboard, you’ll add a thick layer of organic materials—such as straw, grass clippings, compost, or leaves.
As these materials decompose, they enrich the soil below and foster a welcoming habitat for beneficial organisms. The benefits of sheet mulching are extensive: it enhances soil fertility, reduces the need for frequent watering, and cultivates a vibrant ecosystem that supports your plants.
Lasagna Gardening
Lasagna gardening, also known as layered gardening, elevates the concept of sheet mulching by introducing a systematic approach to layering organic materials.
This method starts with a base of cardboard or newspaper, similar to the foundation of a lasagna.
Next, you alternate layers of “brown” materials—such as dried leaves, straw, or paper—with “green” materials like kitchen scraps, grass clippings, or fresh leaves.
Each layer contributes valuable nutrients to the soil as it decomposes, creating a rich, nutrient-dense environment for your plants. This technique is particularly suited for veganic gardening, as it allows you to utilize exclusively plant-based materials.
The outcome is not only healthy, thriving plants but also a significant reduction in weed competition, making lasagna gardening an effective and sustainable method for building your garden’s fertility.
No-Till Raised Beds
Creating no-till raised beds is an excellent way to embrace sustainable gardening while minimizing soil disturbance.
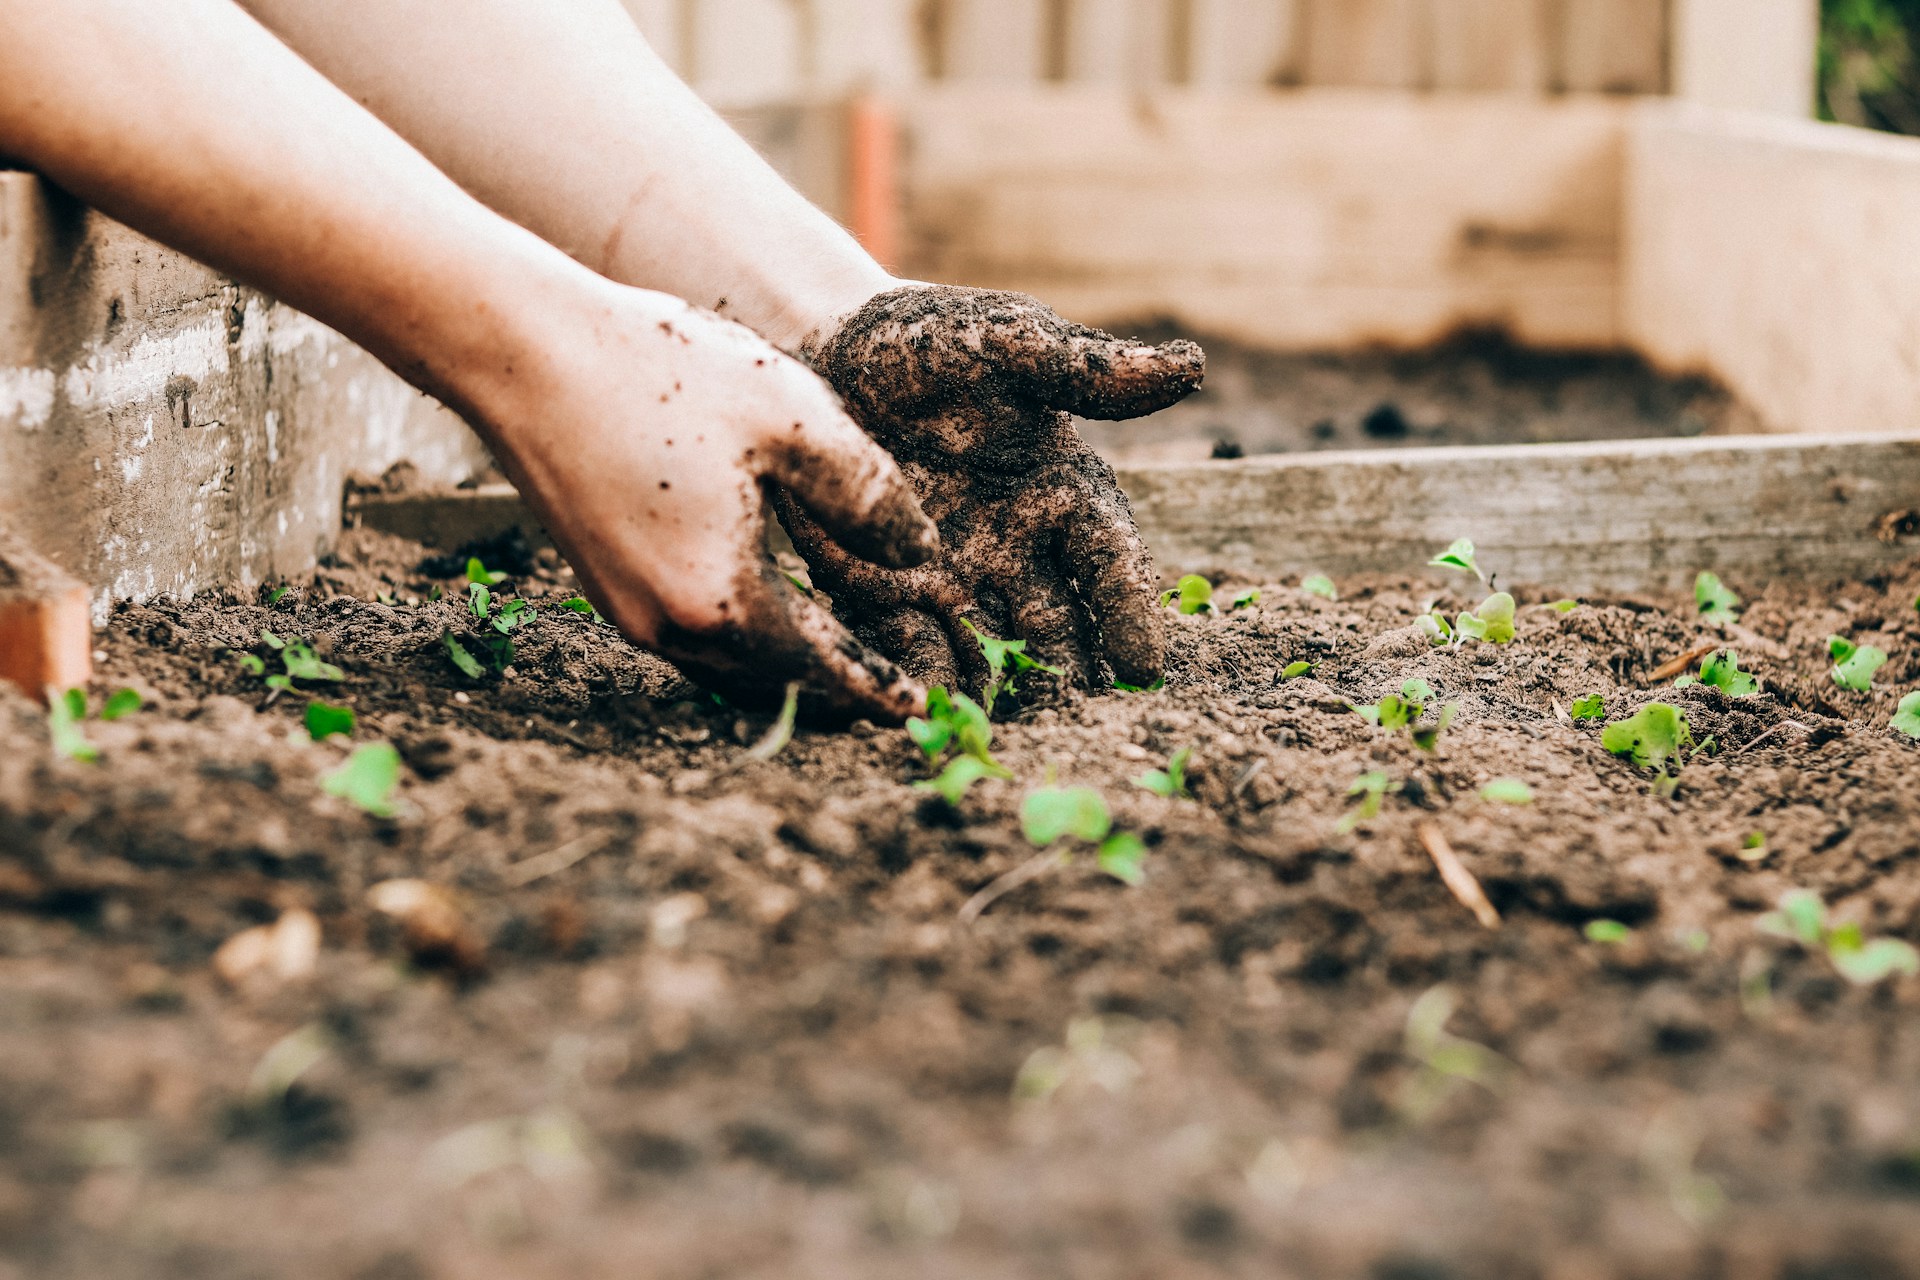
Start by constructing your raised bed using untreated wood, bricks, or stone, ensuring it’s sturdy and suited for your garden space. Once your bed is built, fill it with a rich mixture of topsoil, compost, and organic matter.
Instead of tilling this mixture, simply layer additional organic matter on top as needed. This approach not only helps maintain the soil’s natural structure but also prevents compaction and improves drainage.
No-till raised beds provide a manageable environment for growing vegetables, allowing you to easily control the quality of your soil while reducing the labor involved. They also encourage healthy root development and support the beneficial organisms that contribute to a thriving ecosystem.
Direct Sowing into Mulch
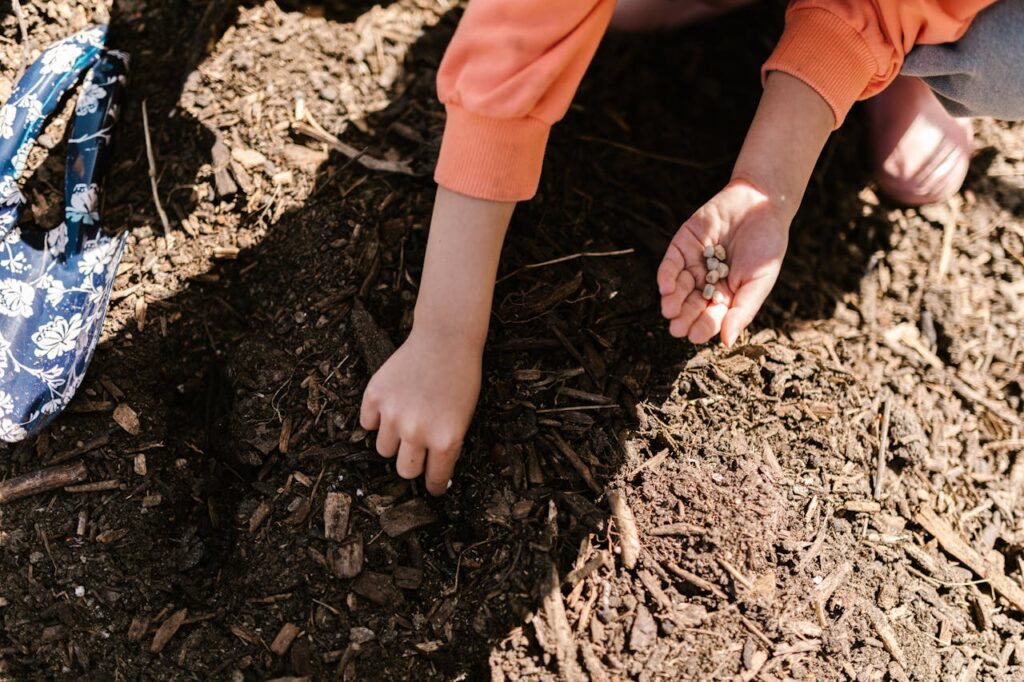
Direct sowing into mulch is a simple yet effective technique that allows you to plant seeds directly into a layer of organic mulch.
Begin by applying a thick layer of mulch—about 2 to 4 inches—over your prepared garden area. When it’s time to sow your seeds, clear away the mulch in the spots where you wish to plant.
Create small openings in the mulch to place your seeds and lightly cover them with soil. This method helps retain moisture, suppresses weeds, and provides a protective barrier for young seedlings, making it an efficient way to establish new plants while promoting a healthier garden ecosystem.
Using a Broadfork
The broadfork is an invaluable tool for no-till gardening, enabling you to aerate the soil without disturbing its structure.
Unlike traditional tillers, which can disrupt the delicate balance of microorganisms, a broadfork gently loosens the soil, allowing air and water to reach plant roots more effectively.
To use a broadfork, simply insert the tines into the soil and step down on the footbar. Rock the tool back and forth to loosen the earth.
This method not only enhances soil aeration but also improves drainage while preserving the soil’s natural ecosystem.
Tips for Success
Monitor Soil Health
Keeping an eye on your soil health is essential for the long-term success of your no-till garden. Regular soil tests can provide valuable insights into nutrient levels, pH balance, and organic matter content.
Many garden centers or local agricultural extension offices offer soil testing services, making it easy to stay informed about your garden’s needs.
Understanding the condition of your soil allows you to make informed decisions about necessary amendments. Additionally, pay attention to how your plants respond to changes in their environment.
Are they thriving or struggling? Observing these signs can help you assess soil health and adjust your practices accordingly, ensuring a flourishing garden for seasons to come.
Adjusting Techniques
No two gardens are the same, and what works well for one may not be ideal for another. It’s essential to be flexible and open to adjusting your techniques based on your garden’s unique needs.
Experimenting with different methods—like varying the types of mulch or cover crops—can lead to valuable insights.
If something isn’t yielding the results you hoped for, don’t hesitate to try new approaches. Remember, gardening is a learning process; your ability to adapt will ultimately cultivate a more resilient and productive garden.
Patience is Key
Embracing the slow and steady nature of no-till gardening can be one of its most rewarding aspects. Unlike traditional methods that often promise quick results, no-till gardening takes time to establish a thriving ecosystem.
It may take a season or two for the full benefits to show, but the long-term rewards are well worth the wait. Savor the process of nurturing your plants and soil, celebrating the small victories along the way. A healthy, flourishing garden is a reflection of the care and patience you invest in it.

